A Step-by-Step Guide for a Bountiful Harvest
3 min read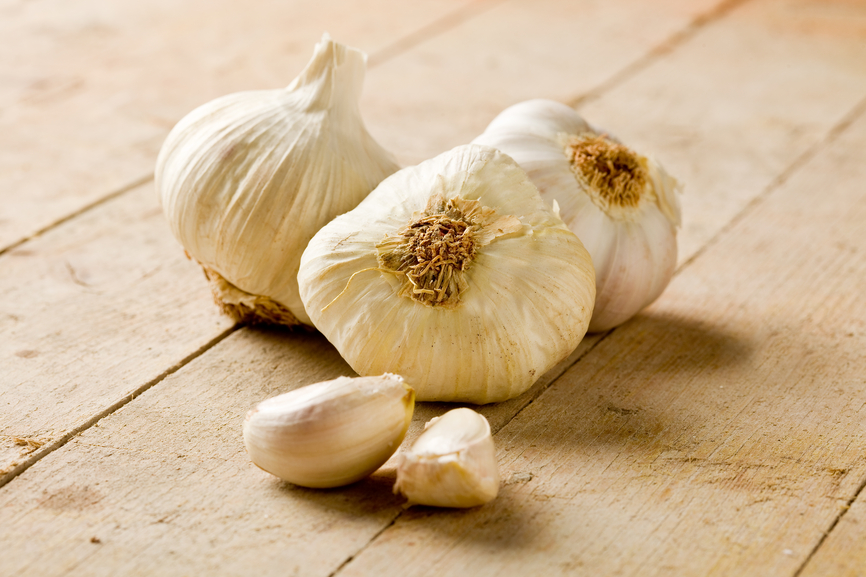
As the summer heat begins to wane and the days start to grow shorter, it’s time to turn our attention to the delightful world of fall gardening. One of the most rewarding endeavors you can undertake in your autumn garden is planting garlic. This versatile and flavorful bulb is not only a staple in many culinary dishes, but it’s also incredibly easy to cultivate. By following a few simple steps, you can ensure a bountiful garlic harvest next summer.
Step 1: Choose the Right Garlic Bulbs
Start by selecting high-quality garlic bulbs for planting. Look for bulbs that are firm, disease-free, and preferably organic. Avoid bulbs that show signs of mold, softness, or damage.
Step 2: Prepare the Soil
Garlic thrives in well-draining soil with good fertility. Before planting, work in compost or well-rotted manure to improve soil structure and provide essential nutrients. A slightly acidic to neutral pH level (between 6.0 and 7.0) is ideal for garlic cultivation.
Step 3: Break Apart Bulbs
Gently separate the garlic bulbs into individual cloves, being careful not to damage them. Each clove will eventually grow into a new garlic plant.
Step 4: Choose Planting Location
Select a sunny spot in your garden with at least six hours of direct sunlight per day. Proper sunlight is crucial for the growth and development of garlic bulbs.
Step 5: Planting Depth
Plant the garlic cloves with the pointed end facing upward. Push each clove about 2 inches deep into the soil, and space them around 6-8 inches apart. Maintain a row spacing of 12-18 inches to allow room for the garlic plants to grow.
Step 6: Mulch
After planting, cover the garlic bed with a layer of organic mulch, such as straw or leaves. Mulching helps retain soil moisture, suppresses weed growth, and provides insulation for the garlic during colder months.
Step 7: Watering
Keep the soil consistently moist, but not waterlogged, throughout the fall. Garlic requires adequate water to establish its root system before winter.
Step 8: Fertilization
About a month after planting, apply a balanced fertilizer to provide an extra boost of nutrients for the developing garlic plants. Follow the manufacturer’s instructions for application rates.
Step 9: Winter Care
As the temperatures drop and winter arrives, your garlic plants will slow down their growth. This is normal. Continue to monitor moisture levels and adjust watering as needed, ensuring that the soil doesn’t become overly dry.
Step 10: Spring Growth
When the warmer days of spring return, your garlic plants will resume their growth. Be patient as they send up green shoots, which will eventually develop into the garlic leaves.
Step 11: Remove Scapes
In early summer, you may notice curly structures called scapes emerging from the garlic plants. To encourage larger bulb growth, snip off these scapes.
Step 12: Harvesting
Garlic is typically ready for harvest in late spring to early summer, around 8-10 months after planting. When the lower leaves start to turn brown, carefully dig up the bulbs. Gently brush off excess dirt and allow the bulbs to cure in a dry, well-ventilated area for several weeks.
Step 13: Store Properly
Once cured, trim the roots and tops of the garlic bulbs. Store them in a cool, dry place with good air circulation to prevent sprouting.
With these straightforward steps, you’re well on your way to a successful garlic harvest. Fall is the perfect time to plant garlic, as it allows the bulbs to establish strong roots and take advantage of the winter’s chill. Before you know it, you’ll be enjoying the rich flavors of your homegrown garlic in a variety of delectable dishes.
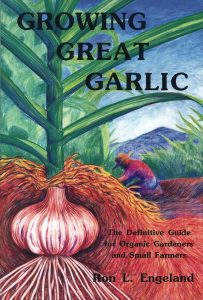
“Despite having been written over 20 years ago, Growing Great Garlic remains the standard gardening guide for anyone interested in the organic cultivation of garlic.”―Southern Exposure Seed Exchange