Vanilla Homemade Lotion Bar (Make in 3 Easy Steps)
3 min read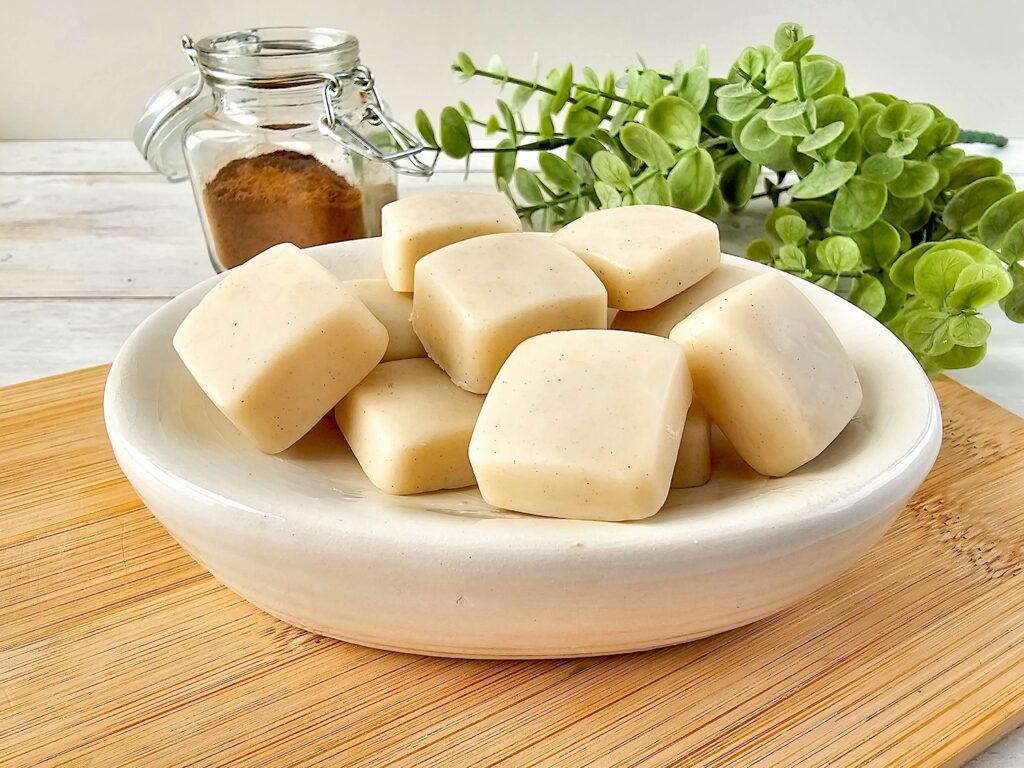
Vanilla Homemade Lotion Bars are a luxurious treat for your skin, combining the emollient properties of natural butters and oils with the soothing scent of vanilla. Perfect for those who prefer a solid moisturizer, these lotion bars are not only practical and easy to use, but they also offer a non-toxic way to keep your skin hydrated and soft.
These DIY lotion bars are great to make for spa-day gifts, especially for Mother’s Day, birthdays and Christmas.
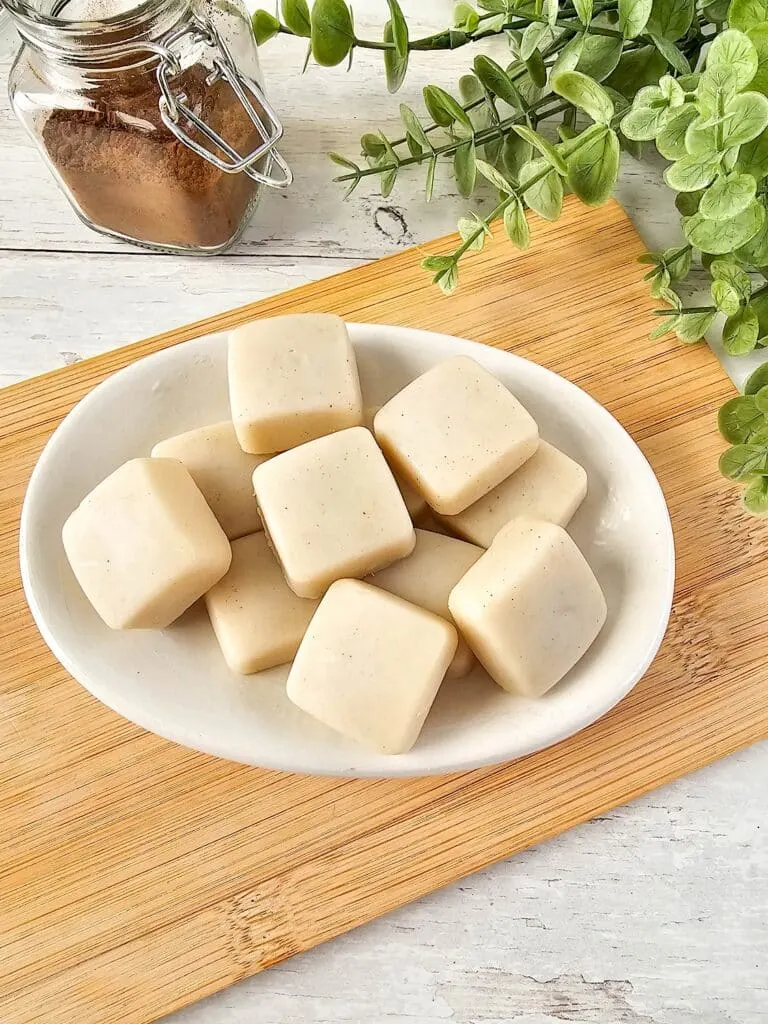
Lotion bars are especially great as travel-size toiletries, too. The solid bars can be packed in your luggage without worrying about bottle sizes.
While these lotion bars are a fabulous zero-waste lotion that is moisturizing for your skin, they are best used as a winter lotion bar. The combination of coconut oil and beeswax can melt easily in high temperatures.
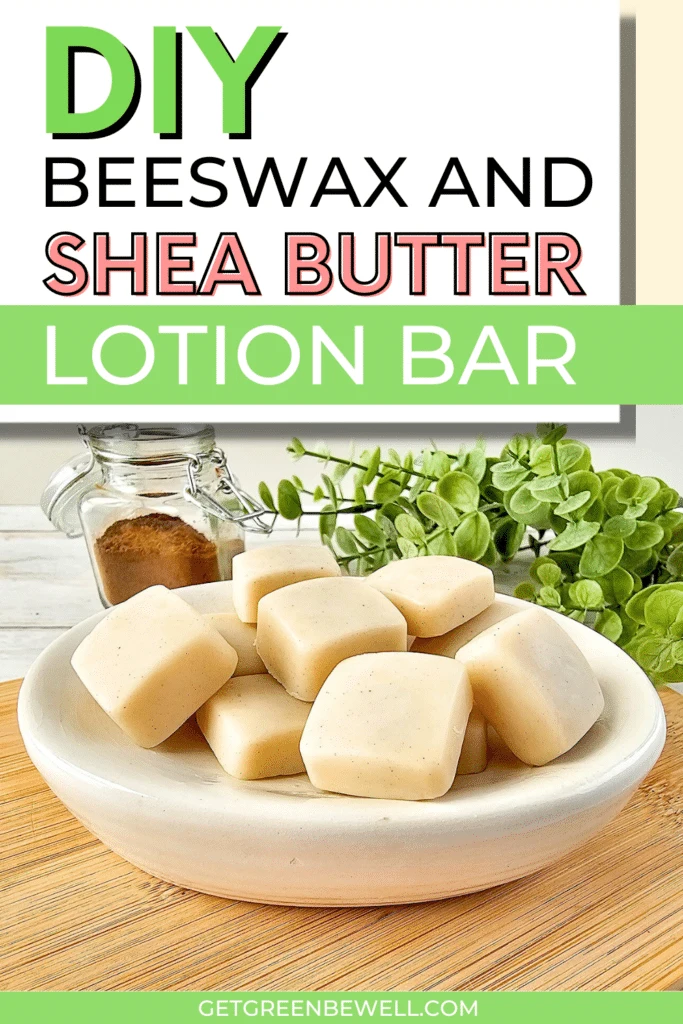
How to Make Homemade Lotion Bars
This recipe makes 12 single-use lotion bars.
You will need to weigh these supplies using a kitchen scale and not a measuring cup. A small inexpensive kitchen scale will work great. If you do not have a kitchen scale, try my beeswax lotion bar recipe which uses many of the same ingredients.
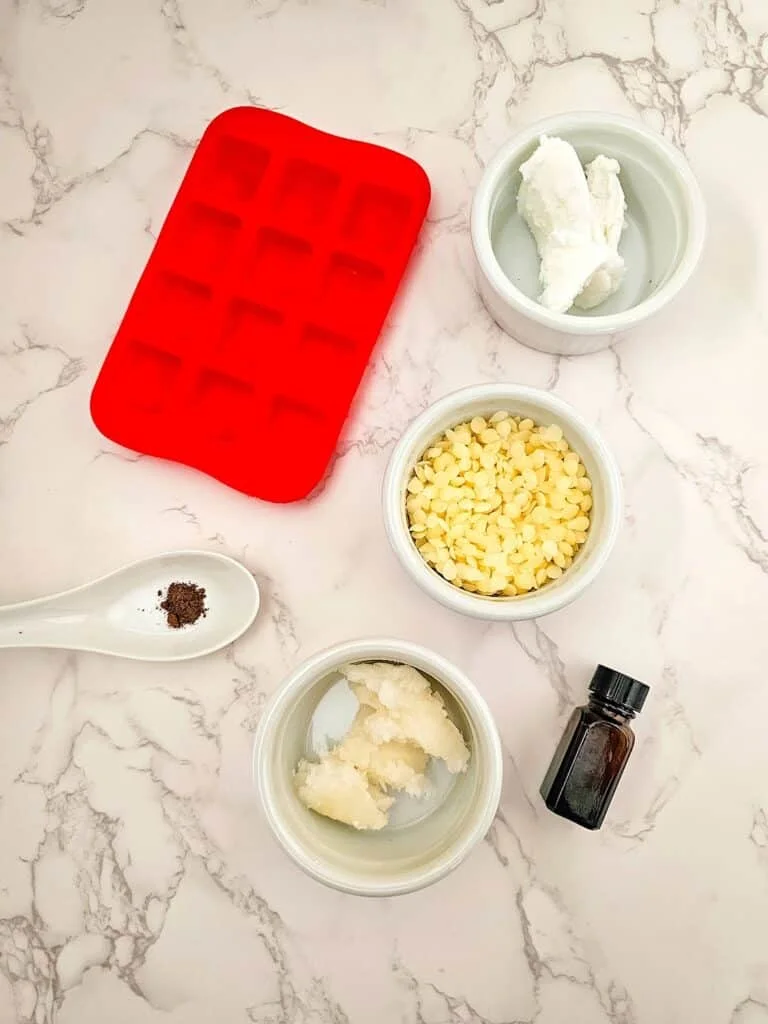
Supplies
Directions
Step 1
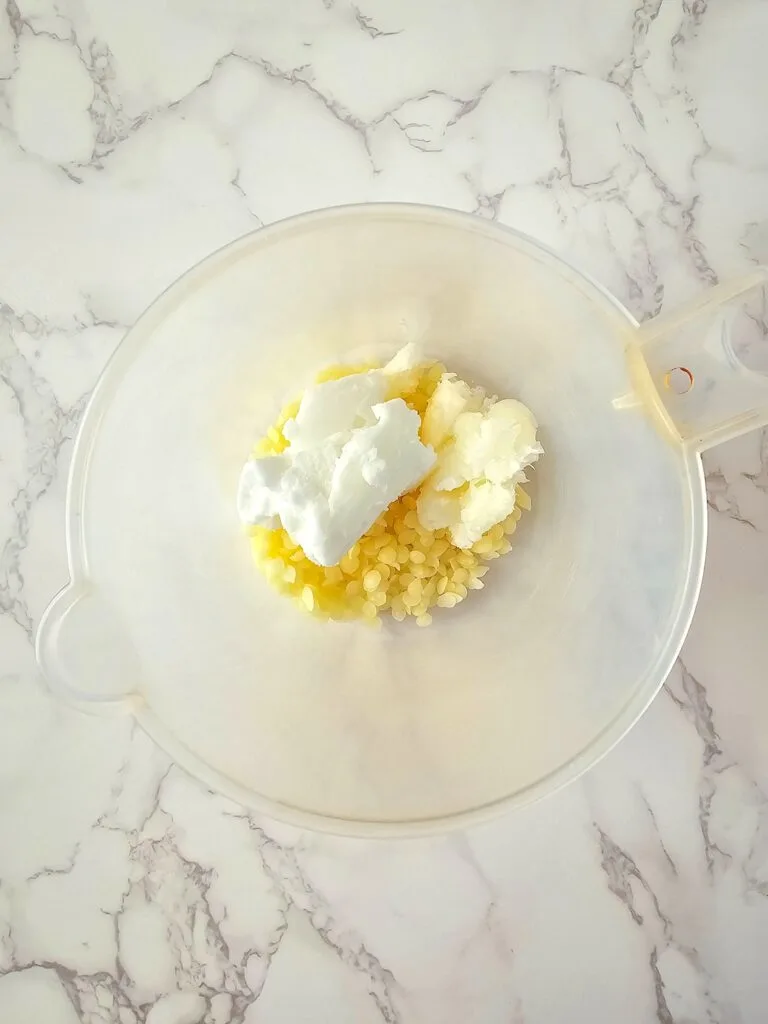
Add the shea butter, coconut oil, and beeswax to the microwave-safe measuring cup.
Heat in 30 second intervals, stirring in between each session, until fully melted.
Step 2
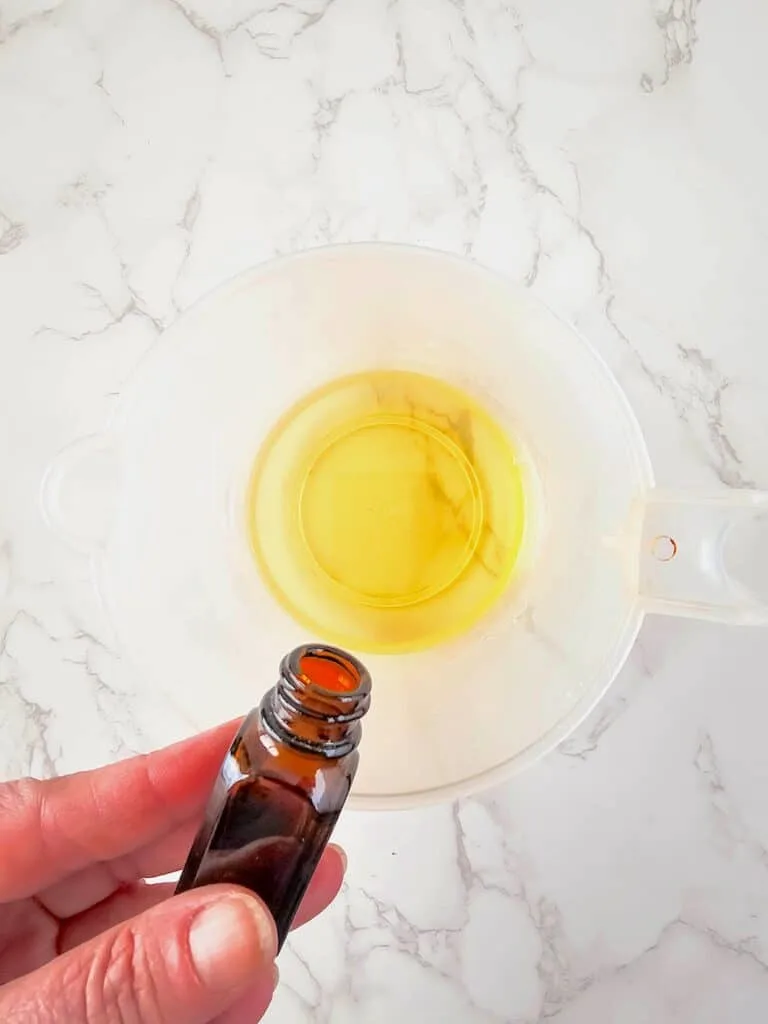
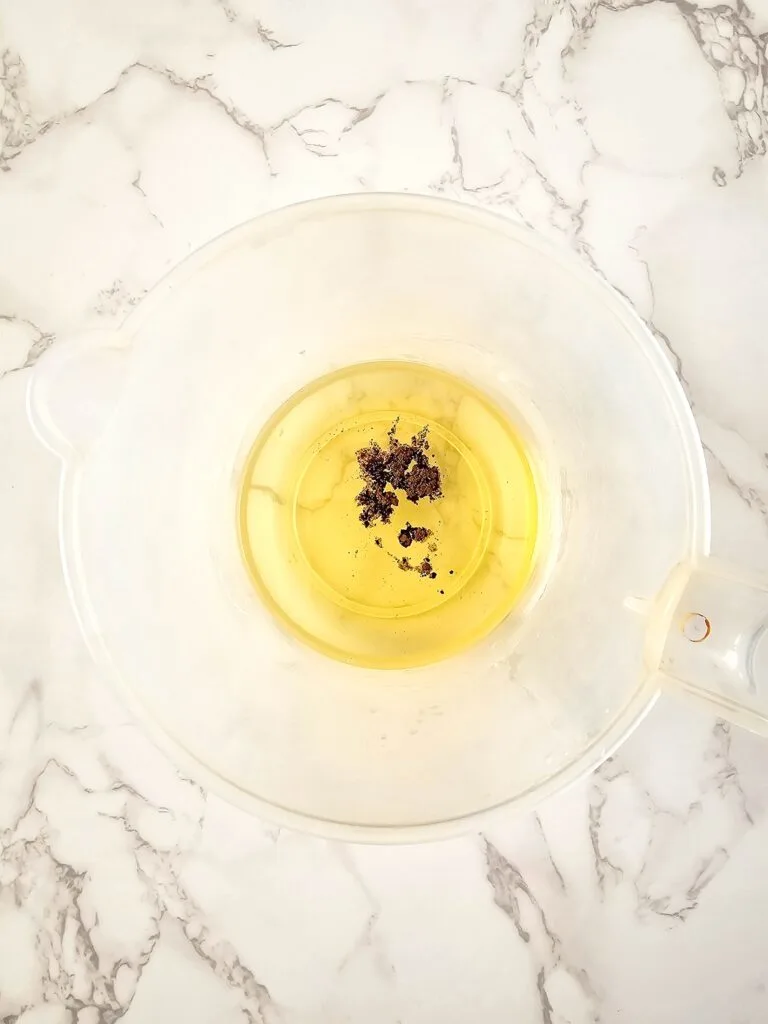
One the mixture is a liquid, stir in the essential oil and the vanilla bean powder.
Step 3
Immediately pour the liquid mixture into the silicone mold. Allow to set for at least 2-3 hours or until completely hardened.
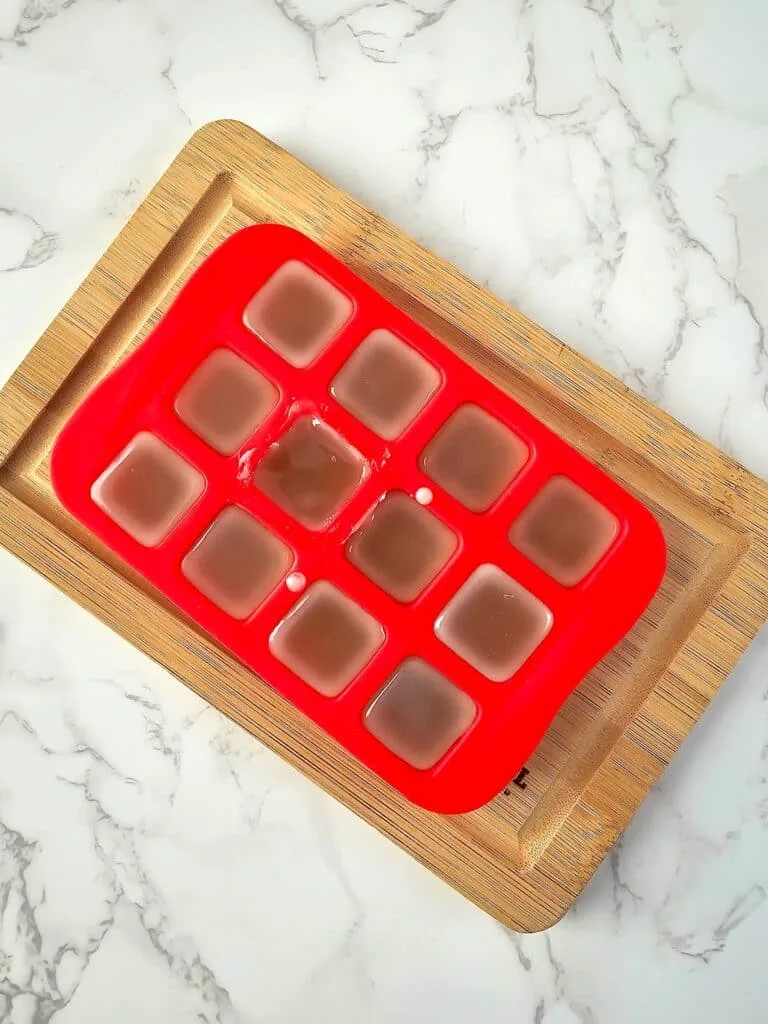
Once the mixture has cooled completely, hardened and turned opaque, remove from the mold.
Store these homemade lotion bars in an airtight container in a cool, dark place.
Helpful Tips
- Any size or shape of silicone mold can be used. Try hearts, flowers or seasonal molds.
- Use small silicone mold shapes rather than larger shapes. These are single-use lotion bars. You do not want to start melting the bar in your hand and then need to store the rest of the lotion for later.
- A wooden craft stick is the best way to stir the oils together. Otherwise the shea butter and beeswax may stick to a spoon and be hard to remove.
- You can use either yellow or white beeswax, however the yellow beeswax will have a darker color and look more yellow.
- Pure vanilla essential oil can be really expensive. You just need an essential oil that has the fragrance of vanilla, even if it is a blend. Be wary of fragrance oils, though, because they are not pure plant extracts.
Want to save this recipe for later? Be sure to Pin It to Pinterest!
For more DIY lotion recipes, see these ideas next:
Materials
- 1.5 oz shea butter
- 1.5 oz coconut oil
- 1.5 oz beeswax
- 15 drops vanilla-scented essential oil
- ¼ tsp vanilla bean powder
Tools
- Square silicone mold
- Microwave safe measuring cup with spout
- Kitchen scale
Instructions
Add the shea butter, coconut oil, and beeswax to the microwave-safe measuring cup.
Heat in 30 second intervals, stirring in between each session, until fully melted.
One the mixture is a liquid, stir in the essential oil and the vanilla bean powder.
Immediately pour the liquid mixture into the silicone mold. Allow to set for at least 2-3 hours or until completely hardened.
Once the mixture has cooled completely, hardened and turned opaque, remove from the mold.
Notes
Store these homemade lotion bars in an airtight container in a cool, dark place.
