A simple guide to sourdough starter and bread
4 min read
In the past few weeks, as panic buying kicked in around the nation facing the COVID-19 virus, all the dry yeast disappeared from the store shelves. While I normally keep a jar of yeast on hand, I was unable to find more and saw my supply rapidly dwindling. In the past, I have made a sourdough starter and bread, but honestly, keeping the starter fed and active just wasn’t one of the things I wanted to do to have bread on a regular basis.
However, times like these call for a new normal, and with very little yeast left, I knew I had to whip up a batch of starter.
Alas, most of the starter recipes called for rye flour, and I didn’t have that on-hand, just all-purpose, bread, and wheat flours. I decided to experiment in small batches. Purists will shun using yeast in a starter, opting for natural fermentation, but I didn’t have the right flour or the patience.
After combing the internet for information, and relying on my experience with a poolish, I decided to create my own starter using 1 teaspoon of active dry yeast, 1 cup of warm (115 degrees F) water, and 1 cup of all-purpose flour. I mixed it up in a jar with a lid, using a plastic spoon (you should not use metal with sourdough starter), and left it on the counter at room temperature for the next 48 hours, stirring periodically, whenever the liquid separated from the starter.
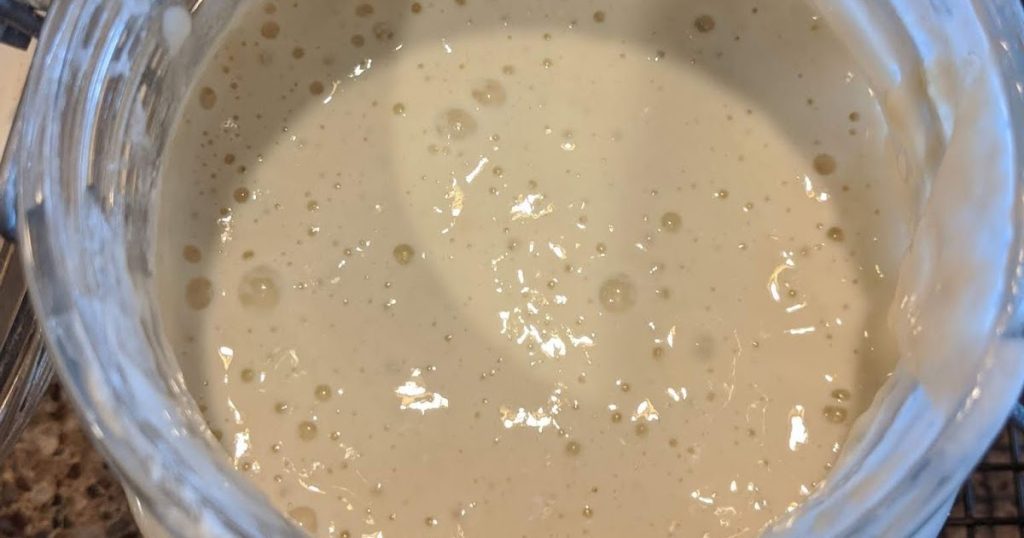
After 48 hours, I fed the starter with another cup of warm water and a cup of flour. I stirred well and again let it rest another 24 hours, again stirring when the water separated. The starter seemed to be coming along nicely, smelling yeasty and filled with bubbles. Again in 24 hours, I added one more cup of water and flour, and let it rest. I knew I had the base for my next loaves of bread.
Once the starter is finished, it can be refrigerated. To use it in a recipe, bring it back out for 24 hours to come to room temperature.
Many sourdough recipes are labor-intensive, but I really had already invested several days in the starter, and again, I lack patience and really wanted to find out if my experiment was going to work. Keep in mind that when you use the starter, you’ll need to replace the amount you use with equal parts of water and flour and again leave it out for 24 hours to ferment.
I adapted a simple recipe from Commonsense Home by Laurie Neverman that I successfully adjusted to suit our needs. See the link for the original recipe and additional notes.
Ingredients
- 2 1/3 cups fresh sourdough starter
- 3 1/3 cup flour
- 3/4 – 1 cup warm water (115 degrees F)
- Scant tablespoon salt
Instructions
- Mix sourdough starter, flour, and salt together. Use enough water to make bread dough (a moist dough is preferable to a dry dough). The dough was very sticky when I started with 1 cup of water, so I will do less next time.
- Fold the dough over itself, repeatedly until everything is well mixed. Again, the dough was so sticky that I couldn’t really knead it, but I didn’t want to dry it out too much, so I folded it over and over gently on a floured surface.
- Shape the dough into a loaf, place on a baking sheet, and cover lightly with a towel and allow the dough to rise for 4 hours. This was when my dough flattened out dramatically, again because the dough was so wet.
- After 4 hours, I punched the dough down and divided it in half to make two loaves. I knew it needed a loaf pan to hold its shape. I sprayed the pans with non-stick spray, and let the dough rise another 4 hours.
- Bake at 400°F (205°C) for about 45 minutes, until the crust is nicely browned. Cool completely and slice. If you want the crust to be softer, put it into a bag to cool. Otherwise, leave out for a harder crust.

Happy eating and home cooking. Stay safe and physically distant until this passes.


